If you want to connect your raspberry pi to your Mac with a USB to TTY cable, the easiest and quickest way is to visit the Profilic website and grab the right driver.
This is assuming your USB to TTL Serial Cable is running a PL2303 chip like this one here: http://www.adafruit.com/product/954.
On this page, download the driver relevant to your OS. Mine was PL2303_MacOSX_1.6.1_20160309.zip.
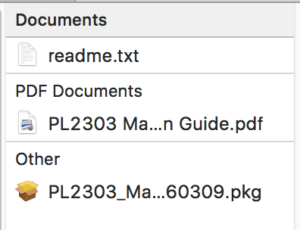
 You then see the following 3 files. Read the pdf first to go through the installation process which is essentially a wizard of the .pkg file.
Don’t plug in the cable yet. You’ll have to restart your computer, then plug in the cable and open up terminal to search for the usb device.
In terminal, search for tty.usb* via:
> ls /dev/tty.usb*
You should get something like this:
![]()
To connect to your pi, you’ll want to run this command:
> screen /dev/cu.usbserial 115200
You’ll get a blank screen. Hitting enter will bring up the raspberry pi log in screen.
Warning
One issue I did have was that when I terminated the screen and tried to run the screen command again, it wouldn’t work and the screen PID consumed 100% CPU. Then to make matters worse, I couldn’t force kill the thread at all. I couldn’t even do a reboot. I had to do a force reboot via fn + cmd + pwr. Crazy!
References:
- https://learn.adafruit.com/downloads/pdf/adafruits-raspberry-pi-lesson-5-using-a-console-cable.pdf (Actual pdf)
- http://pbxbook.com/other/mac-tty.html
Pingback: Access Raspberry Pi 3 UART Console on MacOS - TuM'Fatig